 Skip to content
A stone walkway should feel solid underfoot, drain correctly after a North Texas downpour, and look like it belongs with the home. The right stone walkway installation steps make that happen. The stone is only the visible finish – long-term performance comes from excavation, base preparation, grading, and careful edge restraint underneath it.
For Dallas-Fort Worth homeowners, a walkway often solves more than one problem. It can replace a muddy route from the driveway to the front door, create a clean connection to a pool or patio, protect turf from foot traffic, and give the landscape a finished look. Done poorly, it can shift, collect water, and become a regular tripping hazard. Done right, it becomes one of the hardest-working features in the yard.
Start With the Walkway’s Purpose and Layout
Before choosing flagstone, limestone, or pavers, decide how the walkway will be used. A narrow side-yard path used for trash bins has different needs than a welcoming front entry path or a broad route from a patio to a backyard putting green.
Most primary walkways need enough room for two people to pass comfortably. A 4-foot-wide path is often a practical choice for a front walk, while a 3-foot-wide path can work well for a secondary route. Curves can soften a landscape and work around trees or beds, but they should be intentional. Tight turns tend to look awkward and can make installation more complicated.
Mark the proposed route with marking paint, a hose, or string lines. Walk it several times before work begins. Check door swings, gates, downspouts, sprinkler heads, utility boxes, and areas where water currently pools. A path that looks good on paper but sends runoff toward the foundation is not a successful design.
Choose Stone for the Setting
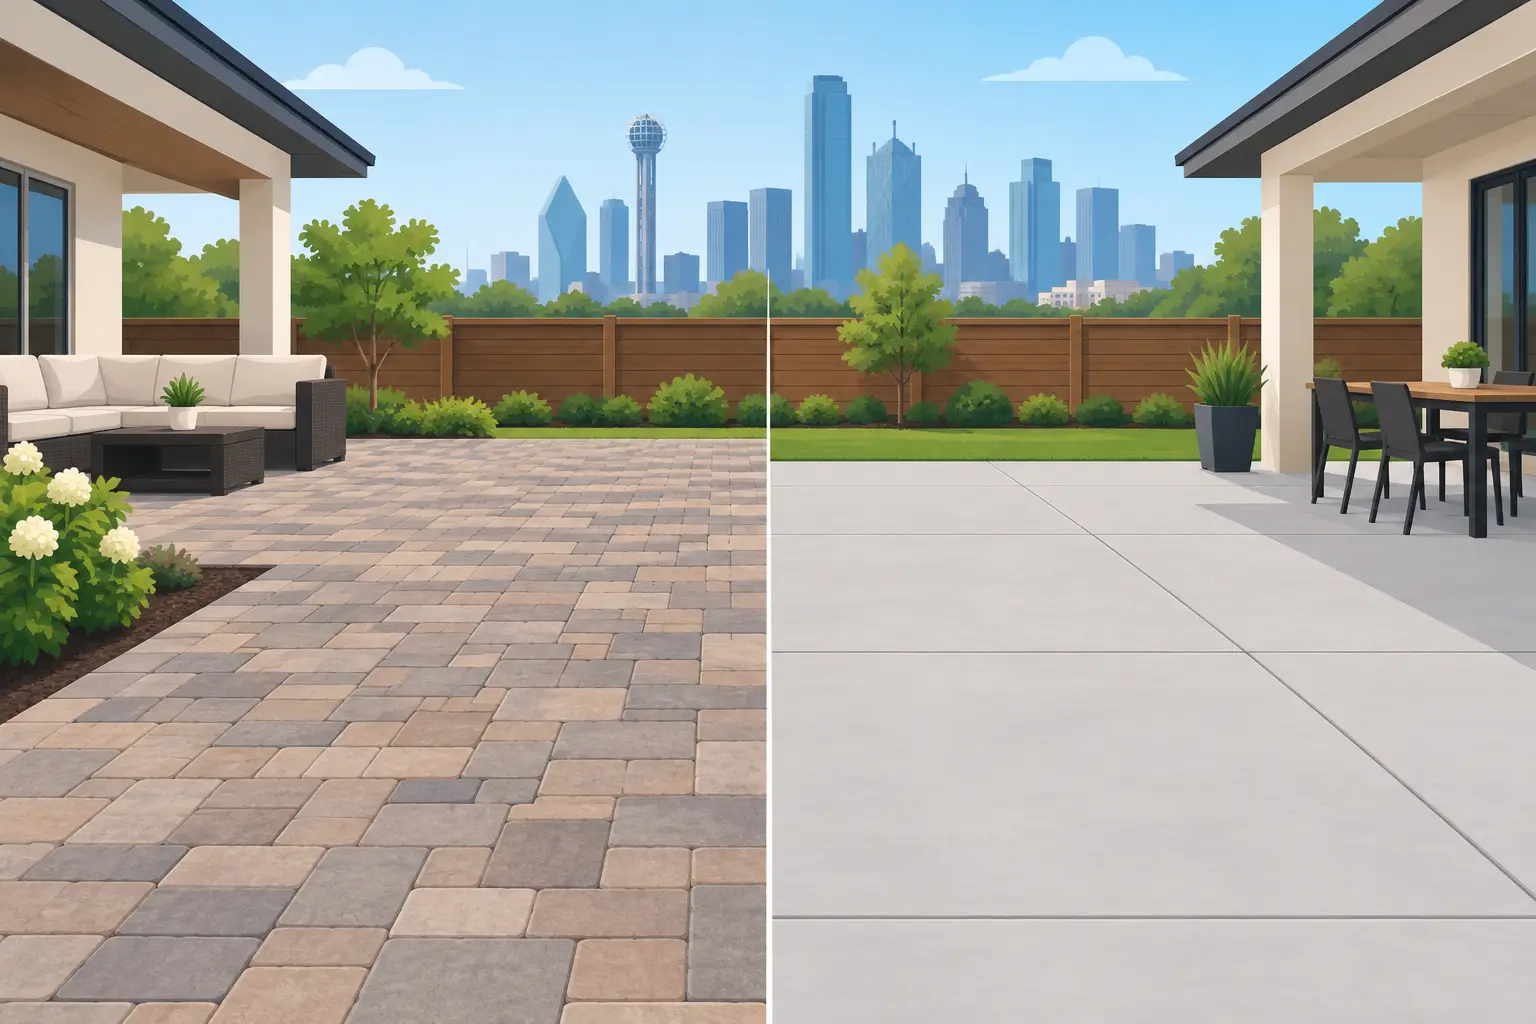
Natural flagstone is a popular choice because it offers a high-end, Texas-appropriate appearance and can be installed in formal or more natural patterns. Cut stone and pavers deliver a cleaner, more uniform look. Larger pieces create fewer joints, while smaller pieces can follow curves and irregular spaces more easily.
There is a trade-off between a tightly fitted, mortared appearance and a more flexible dry-laid walkway. Mortared stone can look refined, but it requires a stable concrete base and proper drainage details. A dry-laid path over compacted base material is often better suited to normal soil movement and easier to repair if a section ever needs adjustment.
Stone Walkway Installation Steps Begin Below Grade
The most dependable stone walkway installation steps are not glamorous, but they determine whether the finished surface stays level. Skipping base work to save time or money usually creates a repair bill later.
First, installers remove sod, roots, loose soil, and other organic material from the walkway area. The required excavation depth depends on the stone thickness, base material, and final grade. In many residential applications, the excavation needs room for several inches of compacted base, a bedding layer, and the stone itself.
The goal is to have the finished stone sit at a sensible height relative to surrounding grass, mulch, driveways, and thresholds. Stone set too low becomes a place for water and debris to collect. Stone set too high creates an edge that is easy to catch with a mower tire or a shoe.
Grade for Drainage Before Adding Base
A walkway needs a gradual slope so water has somewhere to go. In most cases, the surface should fall away from the house, not toward it. Even a subtle slope can move runoff effectively without making the path feel uneven.
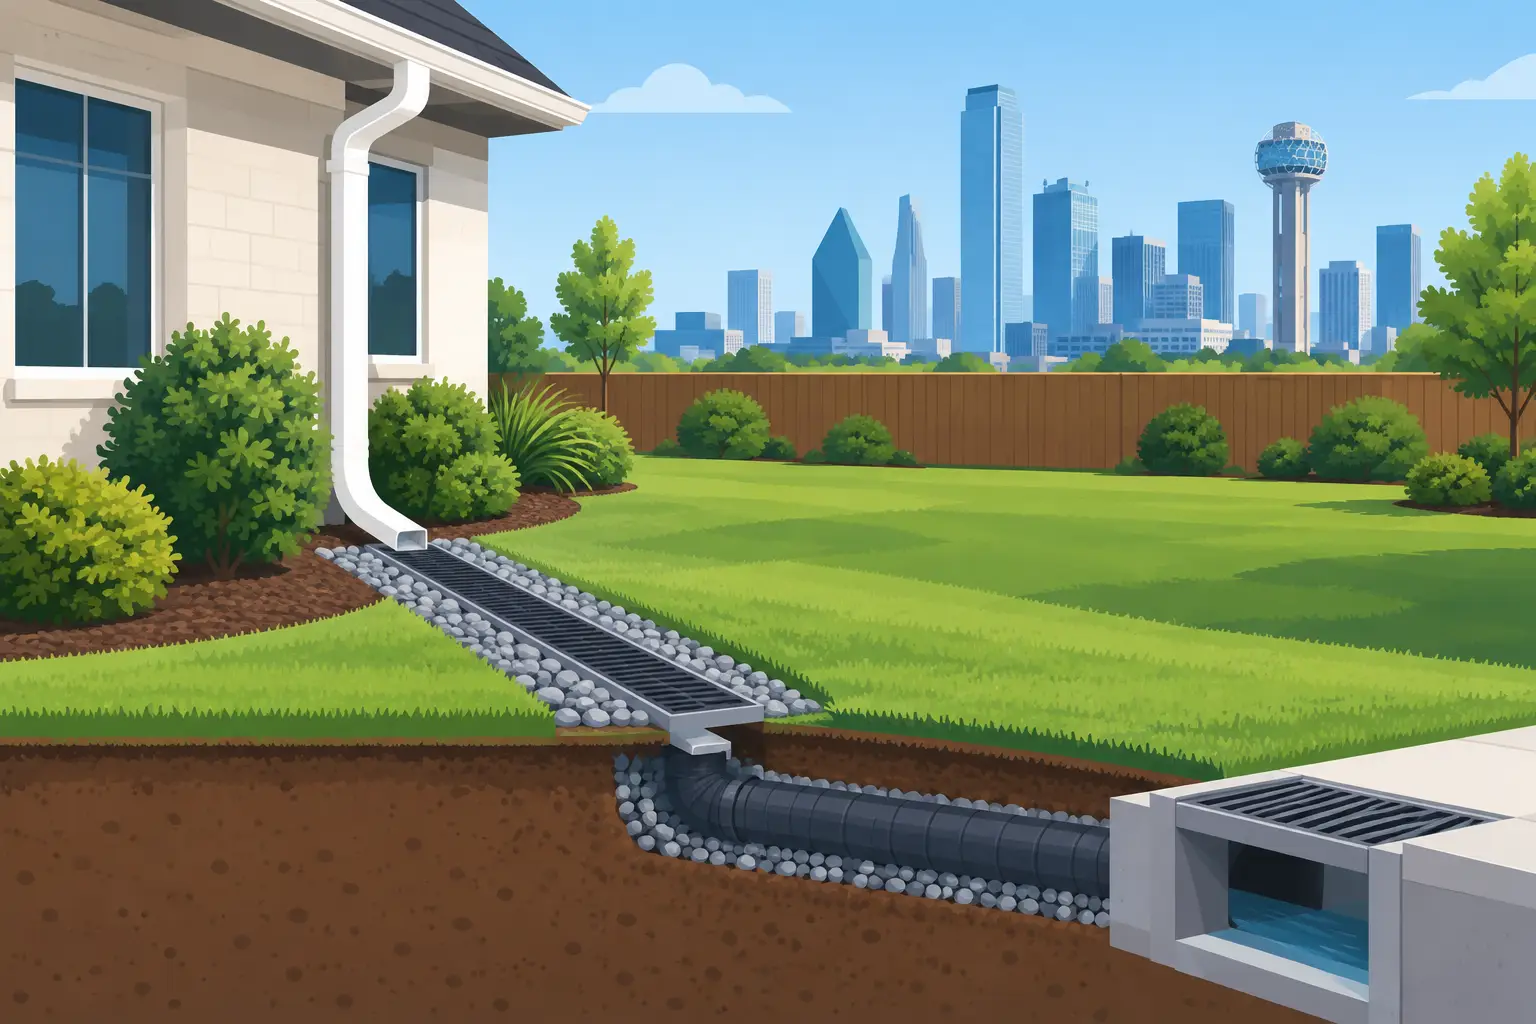
This is especially important around front entries, patios, and pool decks. Dallas clay soils can hold water and expand when saturated, so controlling runoff matters as much as selecting attractive stone. If the property already has drainage issues, the walkway plan may need to work alongside a French drain, catch basin, swale, or downspout extension.
A professional installer evaluates the entire drainage pattern instead of treating the path as an isolated feature. Water that leaves the walkway still has to be directed safely through the landscape.
Build and Compact a Stable Base
After excavation and rough grading, a crushed aggregate base is installed in manageable lifts. Each layer should be leveled and mechanically compacted before the next is added. Compaction is what turns loose rock into a stable foundation capable of supporting stone, foot traffic, and occasional equipment such as wheelbarrows.
This is not a step to handle with a quick pass from a hand tamper on a larger walkway. A plate compactor helps create the dense, even base needed for lasting results. The surface should be checked frequently with a level and string line so low spots are corrected before the stone goes down.
Next comes the bedding layer. Depending on the selected installation method, this may be decomposed granite, stone screenings, or bedding sand. It provides a fine layer for setting and adjusting individual stones. It is not a substitute for proper base depth and compaction.
Set the Stone With Consistent Spacing
Stone installation moves from one fixed edge outward, keeping the intended slope and layout in view. For irregular flagstone, pieces are dry-fitted first to create a balanced pattern and avoid thin, weak-looking cuts. Joints should feel deliberate, not random gaps filled as an afterthought.
Each stone is placed, checked for level relative to adjacent pieces, and adjusted by adding or removing bedding material. The individual stone may be level from side to side, while the walkway as a whole follows its planned drainage slope. Those are two different checks, and both matter.
Avoid rocking stones. If a piece moves under pressure, it needs more support underneath rather than extra joint material around the edge. A stable stone should sit firmly before joint fill is installed.
For a natural flagstone path, joints may be filled with polymeric sand, decomposed granite, gravel, or ground cover, depending on the look and maintenance level desired. Polymeric sand helps resist washout and weeds in tighter joints. Gravel gives a more relaxed appearance but can migrate over time. Living joints can look beautiful, though they need irrigation and occasional upkeep in the Texas heat.
Install Edge Restraint and Finish the Surrounding Area
Strong edges keep the base and stone from spreading outward over time. This can be accomplished with steel, aluminum, concrete, stone edging, or a well-built border course, depending on the walkway design. The right restraint is usually subtle, but it does important structural work.
Once the path is complete, surrounding turf, mulch, beds, or artificial grass can be brought cleanly to the edge. This final transition is where a walkway begins to look like part of a complete landscape rather than a construction project dropped into the yard.
Clean the stone surface thoroughly and inspect the route from every approach. Look for uneven transitions, standing water, loose joint material, or edges that need final adjustment. A clean job site matters, but so does making sure the path performs before the crew leaves.
When Professional Installation Makes Sense
A simple stepping-stone route can be a reasonable DIY project. A full walkway is different when it crosses drainage routes, connects to a porch or pool deck, requires extensive cutting, or must blend with retaining walls, patios, sod, or synthetic turf.
Professional installation brings the equipment and experience needed to excavate accurately, compact the base correctly, manage runoff, and create a finished edge. It also reduces the common problems that show up months later: sinking stones, shifted joints, puddles, and damaged surrounding landscaping.
At Sod Green, stone and hardscape work is planned around the way your entire outdoor space functions, from drainage and turf transitions to curb appeal and daily use. A properly built walkway gives your family and guests a cleaner, safer route through the property while adding a detail that makes the landscape feel complete.



Leave A Comment