 Skip to content

A landscape installation project timeline guide helps take the guesswork out of upgrading your yard. Whether you are replacing a worn-out lawn with fresh sod, installing artificial grass for a lower-maintenance backyard, building a patio, or correcting drainage, the right plan keeps the job moving and protects the finished result.
For Dallas-Fort Worth homeowners, timing matters. North Texas weather can shift fast, soil conditions vary from one property to the next, and larger projects often involve several moving parts. A professional installation team should give you a clear schedule, communicate what is happening on-site, and leave your property clean when the work is done.
What Affects Your Landscape Installation Timeline?
Most residential landscape projects take anywhere from one day to a few weeks from the first consultation to final cleanup. The actual installation may be quick, especially for sod or artificial turf, but planning, material availability, weather, and site preparation determine the full timeline.
A straightforward front-yard sod replacement may be installed in a day. A custom backyard with synthetic turf, drainage, edging, a putting green, flagstone, and planting beds requires more coordination. That does not mean the process has to be complicated. It means each phase needs to be done in the right order.
The main factors are the size of the area, access to the property, existing conditions, selected materials, weather, and whether the project includes hardscape or drainage work. A narrow side gate, a steep backyard, buried roots, poor grading, or limited material access can add labor and time. A reliable contractor identifies these concerns before installation day whenever possible.
Phase 1: Consultation, Measurements, and Quote
The project begins with a site visit or consultation. This is where your installer measures the space, evaluates the current lawn or surface, discusses how you use the yard, and identifies any obvious concerns such as standing water, bare spots, worn pet areas, uneven grades, or failing grass.
For homeowners considering artificial grass, this conversation should cover traffic levels, pets, children, shade, drainage, and the look you want. Not every turf product fits every property. A putting green requires different materials and base preparation than a pet run or a clean, low-maintenance front lawn.
For sod installation, the team should consider sun exposure, irrigation coverage, soil condition, and grass variety. Bermuda, St. Augustine, and Zoysia all have different strengths. Choosing the right sod for the amount of sun and your maintenance expectations is as important as the installation itself.
After measurements and scope are confirmed, you receive a quote and a proposed schedule. This phase can move quickly when decisions are clear and materials are available. If your project includes custom stone selection, retaining walls, permit requirements, or specialized drainage design, allow more time before construction starts.
Phase 2: Scheduling and Material Preparation
Once you approve the project, the installation date is scheduled around crew availability, material lead times, and the weather forecast. In the Dallas area, rain is one of the biggest scheduling variables. Crews can often work around light weather, but heavy rain can make excavation, grading, base compaction, and sod installation less effective.
Good preparation prevents delays on installation day. Before the crew arrives, homeowners should remove furniture, pots, toys, pet waste, and other personal items from the work area. If gates need to be unlocked or pets need to be kept inside, make those arrangements ahead of time.
You should also discuss irrigation heads, outdoor lighting wires, utility lines, pool equipment, and any areas that need special protection. A professional team will take care around existing features, but clear communication helps avoid surprises.
Phase 3: Demolition and Site Preparation
Site preparation is where lasting landscape work begins. It is not the most glamorous part of the job, but it has a major impact on drainage, appearance, and durability.
Removing Existing Grass and Materials
The crew removes old sod, weeds, damaged turf, loose gravel, failing edging, or other materials within the project area. Depending on access and the size of the job, this may be done by hand, with equipment, or both. Disposal is part of a clean, professional installation, not an afterthought.
For artificial turf, the team may excavate soil to create room for the base materials. For sod, the ground may be stripped, loosened, and prepared for fresh soil or amendments. If hardscape is being installed, excavation is usually deeper because patios, walkways, and retaining walls need a stable foundation.
Grading and Drainage Corrections
This is the phase where water problems should be addressed, not covered up. If water pools near the home, flows toward a patio, or leaves parts of the lawn muddy, drainage work may include regrading, catch basins, channel drains, French drains, or proper slope adjustments.
Drainage can extend the timeline, but it is worth doing correctly. Installing beautiful turf or sod over a problem area without correcting the water flow can lead to uneven surfaces, washed-out soil, dying grass, or water where you do not want it.
Phase 4: Installation Day for Sod, Turf, and Hardscape
Once the base is ready, the visible transformation happens fast.
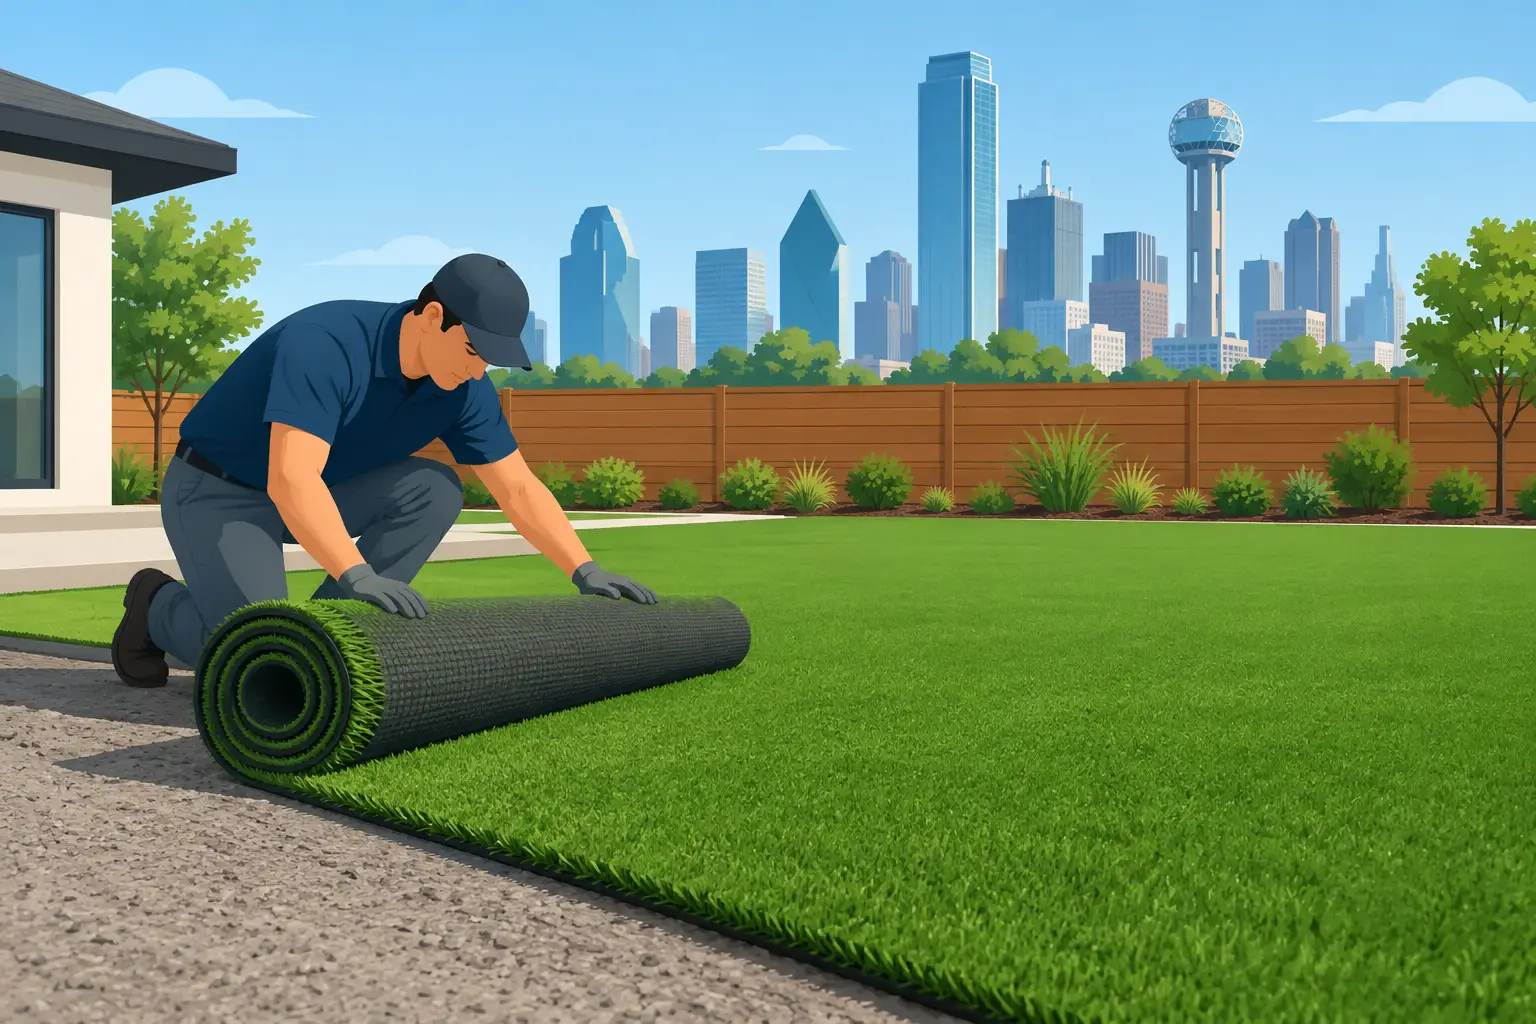
For sod installation, crews level the prepared soil, place fresh rolls tightly together, trim edges, and water the lawn. A typical residential sod project can often be completed in one day, provided the yard is accessible and the prep work is straightforward. Fresh sod creates an immediate green lawn, but it still needs proper watering and time to establish roots.
Artificial grass installation requires a compacted base, precise cutting, secure seams, edge fastening, infill where appropriate, and detailed finishing around curves, trees, drains, and hardscape. Smaller turf installations may be completed in a day or two. Larger yards, custom putting greens, or projects with significant grading can take longer because the base must be installed and compacted correctly.
Hardscape work generally requires more time than sod or turf alone. A flagstone patio, walkway, or retaining wall involves excavation, base preparation, leveling, cuts, and finishing details. Weather and material complexity can affect this schedule, but quality work should never be rushed just to meet an arbitrary date.
Phase 5: Final Details and Cleanup
The final stage is where the project comes together. Crews trim edges, check transitions, remove debris, clean the work area, and make sure the new landscape looks finished from the street, patio, and every common viewing angle.
For artificial turf, the installer should inspect seams, secure edges, brush the fibers, and confirm that drainage areas remain open. For sod, the crew should check for gaps, make sure the lawn is watered, and provide clear instructions for the first few weeks. For hardscape, final checks include stable stones, clean joints, proper slopes, and a tidy perimeter.
This is also the time to walk the project with your installer. Ask about watering, pet use, mowing, settling, drainage, and routine care. A dependable contractor does not disappear when the last piece of equipment leaves the driveway.
Typical Timeline by Project Type
Every property is different, but these ranges help homeowners plan realistically:
- Basic sod replacement: consultation and scheduling, then typically one installation day.
- Artificial grass for a small to medium yard: usually one to three installation days after material scheduling and preparation.
- Backyard putting green: commonly several days, depending on shaping, turf selection, access, and surrounding features.
- Patio, flagstone, retaining wall, or major drainage work: often several days to two weeks, particularly when combined with turf or sod installation.
A combined outdoor renovation may be completed in stages. Drainage and hardscape normally come first, followed by final grading, turf or sod, and finishing touches. That order protects the new lawn and prevents heavy work from damaging completed surfaces.
How to Keep Your Project on Track
The fastest route to a finished yard is not cutting corners. It is making decisions early, choosing materials before the crew is scheduled, providing easy access to the work area, and addressing drainage or grading concerns upfront.
Be flexible when weather requires a change. A short delay can be the right call if it protects the base beneath your artificial turf, prevents muddy sod installation, or allows stonework to be set properly. The goal is a yard that still looks and performs well long after installation day.
A well-planned outdoor project should feel organized from the first measurement to the final cleanup. When you work with experienced installers, you can look forward to the best part: stepping outside to a finished space that is built for your home, your family, and the way you actually live.




Leave A Comment