 Skip to content
A new sod lawn can change the look of a Dallas property in a single day. But the green, finished look only lasts if the work underneath is done right. Knowing how to lay sod properly means treating soil preparation, grading, installation, and watering as one job – not four separate chores. Skip the prep or let fresh sod dry out, and even quality grass can turn brown, separate at the seams, or fail to root.
Start With the Right Sod for Your Yard
Before ordering a pallet, look at how the lawn is actually used. A wide-open front yard with full sun has different needs than a shaded backyard under mature oaks or a pool area that gets heavy foot traffic. In North Texas, Bermuda grass is a strong choice for sunny lawns, active families, and high-traffic areas. St. Augustine performs better with more shade, though it needs consistent water and is less forgiving of traffic. Zoysia offers a dense, refined appearance and can handle some shade, but it typically establishes more slowly.
There is no single best sod for every Dallas-Fort Worth lawn. Sun exposure, irrigation coverage, pets, drainage, and the amount of time you want to spend mowing all matter. Choose the grass first, then prepare the site for that grass. Installing the wrong variety and hoping extra fertilizer will fix it is an expensive mistake.
Timing also affects results. Sod can be installed through much of the year in North Texas when water is available, but warm-season grasses root fastest during their active growing season. Summer installations can look great quickly, but they require close attention to watering during high heat. Winter sod installation is possible, although root development is slower and the lawn may stay dormant until spring.
How to Lay Sod Properly Starts Below the Surface
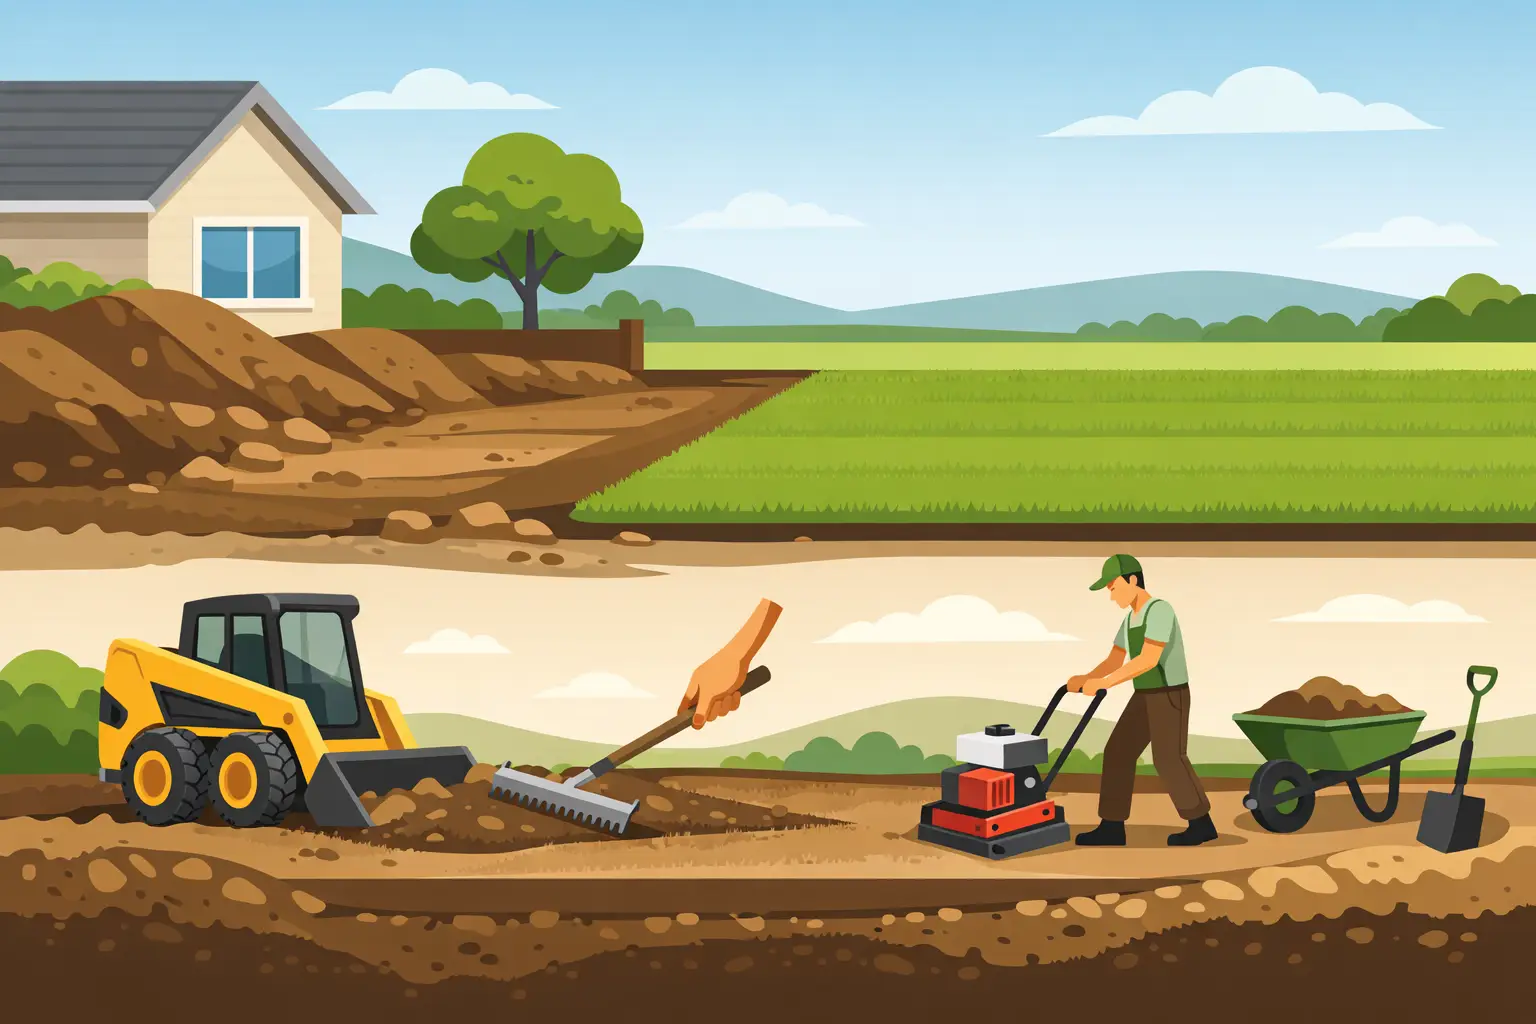
The most common sod failures are not caused by the sod itself. They start with compacted dirt, poor drainage, leftover weeds, or an uneven grade. A good installation crew spends serious time on the base because that is what gives the lawn a level finish and healthy root zone.
First, remove old grass, weeds, rocks, roots, construction debris, and any damaged or compacted soil. If the old lawn died from poor drainage, shade, insects, or irrigation problems, address the cause before covering it with new sod. Fresh grass will not solve a low spot that stays wet after every storm.
Next, loosen the existing soil. For most residential lawns, working the top 4 to 6 inches gives new roots a better chance to move into the ground. Dallas-area clay soil can be especially dense, so adding quality topsoil or soil amendments may be necessary to improve structure. The goal is not simply soft dirt. You want a stable, workable base that holds enough moisture for roots without staying saturated.
Grade for Drainage and a Clean Finish
Grade the area so water moves away from the foundation, patio, and other structures. The finished lawn should have a gentle, consistent slope, not obvious dips or steep humps. Low areas can create muddy spots, turf disease, and mosquito problems. High spots tend to dry out first and make mowing uneven.
Keep the final soil grade about 1 inch below sidewalks, driveways, edging, and patios. Sod adds thickness, and this allowance helps the finished grass sit cleanly below hard surfaces instead of spilling over them. Check sprinkler heads while grading as well. They should sit at the correct height after the sod is installed, not buried beneath it or sticking up where a mower can hit them.
Water the prepared soil lightly just before laying sod. It should be damp, not muddy. Working on soaked soil can create ruts and compaction that are difficult to correct once the lawn is down.
Install Fresh Sod Quickly and Tightly
Sod is perishable. Once it is cut, it begins losing moisture and needs to be installed as soon as possible. Schedule delivery for the day you plan to install, keep the pallets shaded if you can, and avoid letting rolls sit for days in the Texas heat. Heat trapped inside stacked sod can damage the grass before it ever reaches the ground.
Begin along a straight edge, such as a driveway, fence, curb, or patio. Lay the first row straight because every row after it follows that line. Unroll each piece flat against the soil and press the edges together firmly. The seams should touch, but do not stretch the sod to force pieces into place.
Stagger the seams in the next row much like brickwork. This helps prevent long gaps from opening as the sod settles. Avoid lining up seams across the entire yard, and do not leave narrow strips at the outside edges where they are likely to dry out. Use a sharp sod knife to cut pieces around beds, trees, irrigation heads, and curves.
Work from installed sod whenever possible instead of walking repeatedly on exposed prepared soil. Use boards if you need to cross the area. Footprints and ruts in loose soil can show through the finished lawn and create uneven watering patterns.
After the sod is laid, use a lawn roller filled about one-third with water. Rolling improves contact between the roots and soil, removes small air pockets, and helps the pieces settle evenly. Do not over-roll. Heavy rolling on wet clay can compact the soil and make rooting more difficult.
Water New Sod the Right Way
Watering decides whether new sod establishes or struggles. Start immediately after installation. The first deep watering should soak the sod and moisten the soil beneath it. Lift a corner in a few places to check. If the bottom of the sod is wet but the soil below is dry, water longer.
For the first 7 to 10 days, keep the sod consistently moist. In hot, windy Dallas weather, that can mean watering more than once a day, especially in full-sun areas and along pavement. The objective is moisture at the root zone, not a constant puddle on the surface. Water early in the morning whenever possible so the grass can dry before evening.
After the first week, begin watering less often but for longer periods. This encourages roots to grow down into the native soil rather than staying near the surface. By weeks two through four, most lawns can transition toward a deeper, less frequent schedule, depending on weather, soil type, and the grass variety.
Watch the lawn rather than relying only on a calendar. Gray-blue color, curling blades, dry seams, and footprints that remain visible are signs that the turf needs water. On the other hand, spongy soil, standing water, or a sour smell can indicate overwatering or drainage trouble.
Protect the Lawn While It Roots
Fresh sod needs time to attach to the soil. Keep pets, children, lawn games, and heavy furniture off the grass for at least two to three weeks when possible. A lawn may look ready for use before it is rooted. Gently tug a corner after about 10 to 14 days. If it resists lifting, roots are beginning to establish.
Mow only after the sod has rooted enough to stay in place and the grass reaches its recommended height. Make sure the mower blade is sharp, and never remove more than one-third of the blade length in one cut. Dull blades tear new grass and create stressed, brown-looking tips.
Fertilizer can help, but timing matters. A starter fertilizer is often applied during preparation based on soil needs. Avoid piling on extra products immediately after installation. New sod is already under stress, and too much fertilizer can burn roots or push weak top growth before the lawn is established. If you are unsure, a soil test and a professional recommendation are better than guessing.
Mistakes That Can Ruin a New Sod Lawn
Laying sod over existing weeds, skipping drainage corrections, and failing to level the base are problems that show up quickly. So are gaps between pieces, sod installed upside down on slopes, and delayed watering after delivery. Another frequent issue is installing a beautiful shade-sensitive grass in a yard that receives only a few hours of direct sun.
Homeowners also sometimes water for five minutes every day and assume the job is done. That routine may dampen the blades without reaching the roots. New sod needs enough water to connect with the soil beneath it, then a gradual shift toward deep watering that builds a stronger lawn.
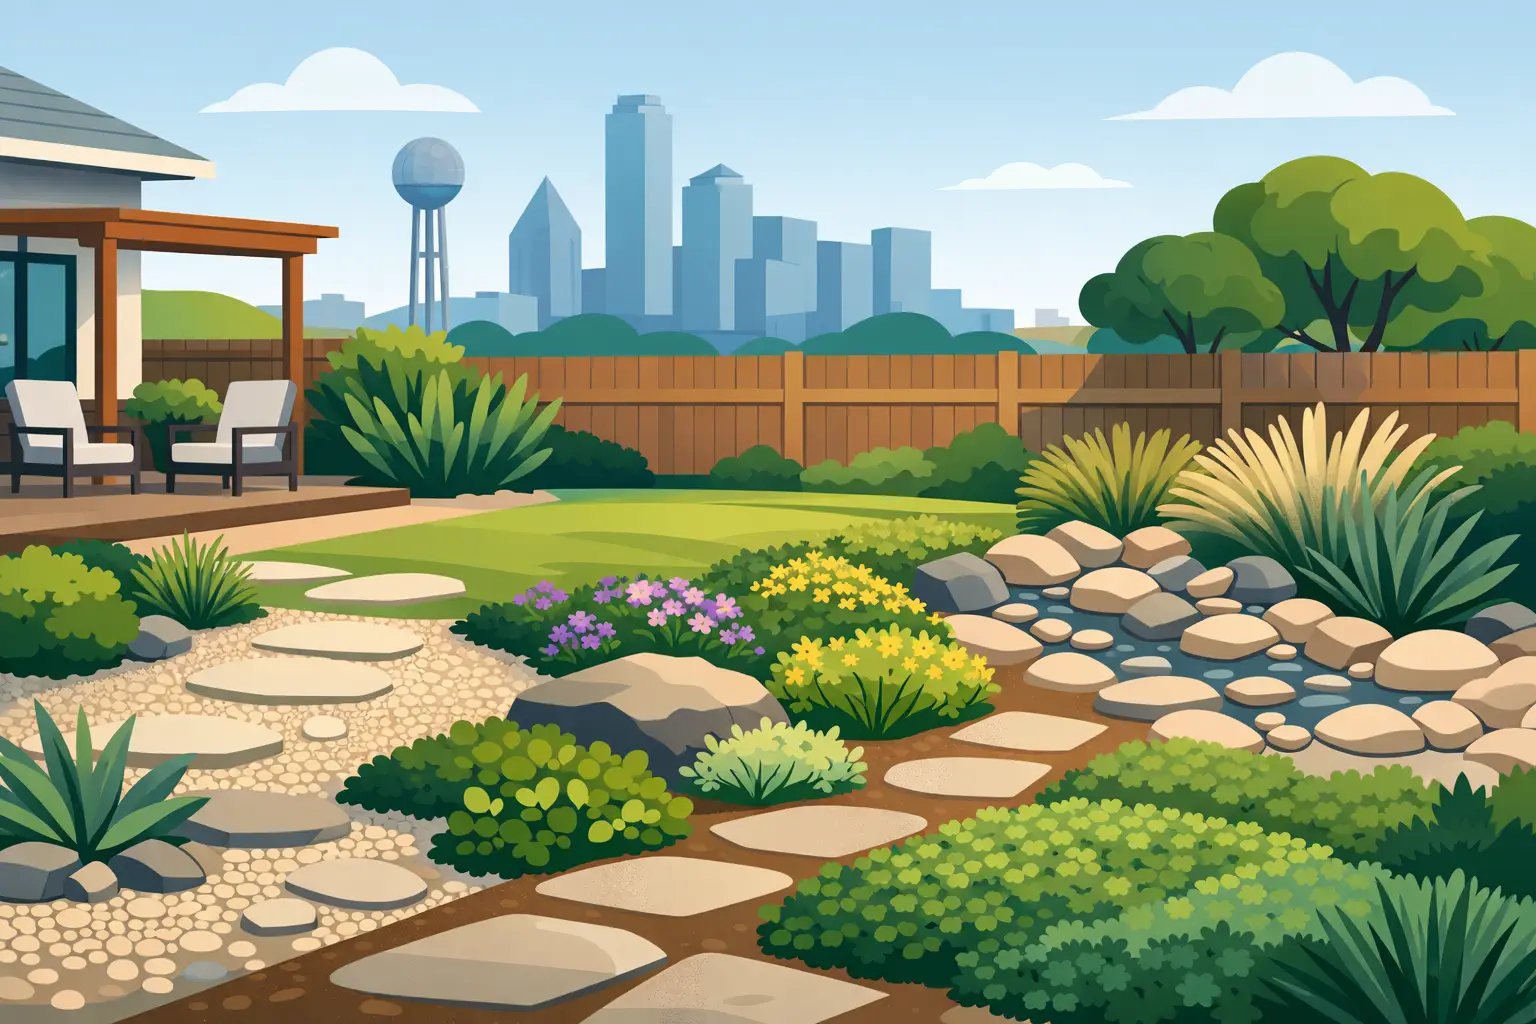
If the project includes drainage work, retaining borders, flagstone, a patio, or artificial turf in another part of the yard, plan those elements before the sod goes down. Heavy equipment and hardscape construction can damage a finished lawn. Coordinating the full landscape plan upfront keeps the work cleaner and avoids paying twice for the same area.
A properly installed lawn should look good on day one and grow stronger in the weeks that follow. For homeowners who want the job handled from soil preparation through cleanup, Sod Green brings trained installation crews and practical North Texas experience to every sod project. The right preparation and steady early care give your new grass the best chance to become the lawn you wanted when you first looked out the window.





Leave A Comment