
A backyard putting green should feel like a place you want to use after work, not a patch of turf that looks good for one season and rolls poorly after the first hard rain. Knowing how to install backyard putting greens starts with understanding that the visible turf is only one part of the project. The excavation, drainage, compacted base, contours, and edge work underneath are what determine whether the green stays smooth, drains well, and gives you a consistent putt.
For Dallas-Fort Worth homeowners, the challenge is often a combination of dense clay soil, intense summer heat, and heavy rain that can expose weak base preparation quickly. A properly installed synthetic putting green handles those conditions while giving your family a clean, low-maintenance space to practice, entertain, or enjoy around the pool.
Start With the Right Location and Design
Before any soil is removed, choose a location that works for both golf and daily life. A putting green needs enough room for a natural stance and a few meaningful putts, but it should also fit the way you use the backyard. Avoid placing it where it blocks access to a gate, outdoor kitchen, pool equipment, or a popular play area.
A relatively level area makes installation more straightforward, but a gentle slope is not automatically a problem. In fact, subtle contours can create more interesting breaks. The key is controlling where water goes. Water should drain away from the home and should never collect along the green’s edge.
Think about the size realistically. A smaller green can still be useful if it has multiple cup locations and a clean fringe around the perimeter. Larger yards can support chipping areas, a longer approach lane, or a separate synthetic turf zone for kids and pets. The best layout is one that looks intentional from the patio and performs well when you are actually using it.
Plan the Base Before You Choose the Turf
Homeowners often shop for putting turf first because it is the part they can see and touch. But the base matters more than the turf when it comes to long-term performance. Quality turf installed over an uneven, poorly compacted surface will telegraph every imperfection. It may wrinkle, settle, or hold water in low spots.
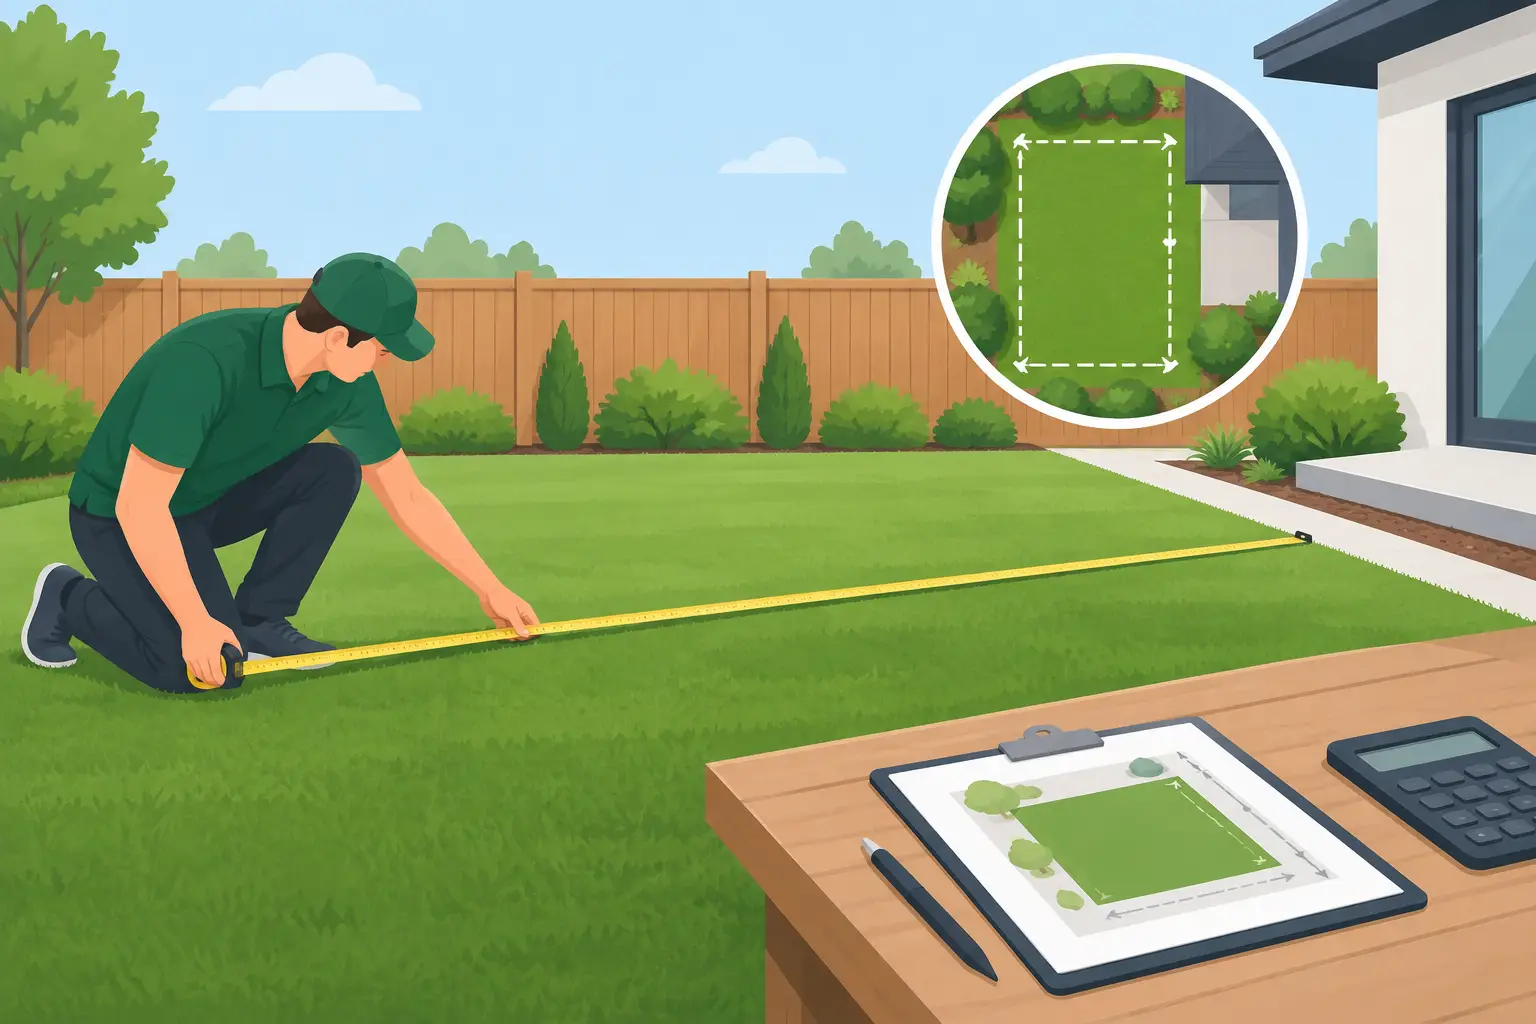
A professional installer begins by marking the green shape, checking grades, and identifying drainage needs. Utility lines, irrigation components, tree roots, and existing hardscape all need to be considered before excavation begins. This is especially important near patios, pools, and structures where changing the grade can create unwanted drainage problems.
The design stage is also the right time to decide whether you want a simple practice green or a more complete golf feature. A green built for short putts can use a straightforward shape and one or two cups. A green intended for varied practice benefits from several cup positions, modest slopes, and enough distance between holes to keep each putt from feeling the same.
How to Install Backyard Putting Greens Step by Step
The installation process is detailed, but each stage has a clear purpose. Skipping a step to save time can lead to expensive repairs later.
Excavate to Create Room for the System
The existing grass, roots, loose soil, and organic material must be removed. The depth of excavation depends on the final design, existing grade, and base requirements, but the goal is to make room for the compacted foundation, turf, and any shaping needed for contours.
This is not the time to leave soft soil in place. Organic matter breaks down over time, creating voids that cause dips in the finished surface. A clean, properly excavated subgrade gives the entire system a stable starting point.
Build Drainage Into the Green
Drainage is one of the biggest differences between a green that lasts and one that becomes a problem after storms. In North Texas, compacted clay can slow water movement and keep the ground wet long after rainfall. A putting green should be graded to shed water, with drainage components added where the site calls for them.
Depending on the yard, this may include a permeable aggregate base, drainage channels, or connections to an existing drainage plan. The exact approach depends on the slope, soil condition, nearby structures, and where runoff can safely discharge. Water should move through or around the system without washing out edges or directing moisture toward your foundation.
Install and Compact the Aggregate Base
A crushed aggregate base is spread in controlled layers and compacted thoroughly. This creates the firm, stable surface that supports the turf and prevents future settling. The material must be installed evenly and checked repeatedly during compaction.
This stage is where the green’s overall shape takes form. Gentle breaks and subtle transitions can be built into the base, but dramatic slopes usually make a backyard green frustrating rather than fun. A good putting surface should challenge your line and speed without sending every missed putt racing off the edge.
After the aggregate is compacted, a fine leveling layer may be added to smooth the surface before turf installation. The finished base should feel firm underfoot and maintain the intended grade across the entire green.
Fit the Putting Turf and Fringe Carefully
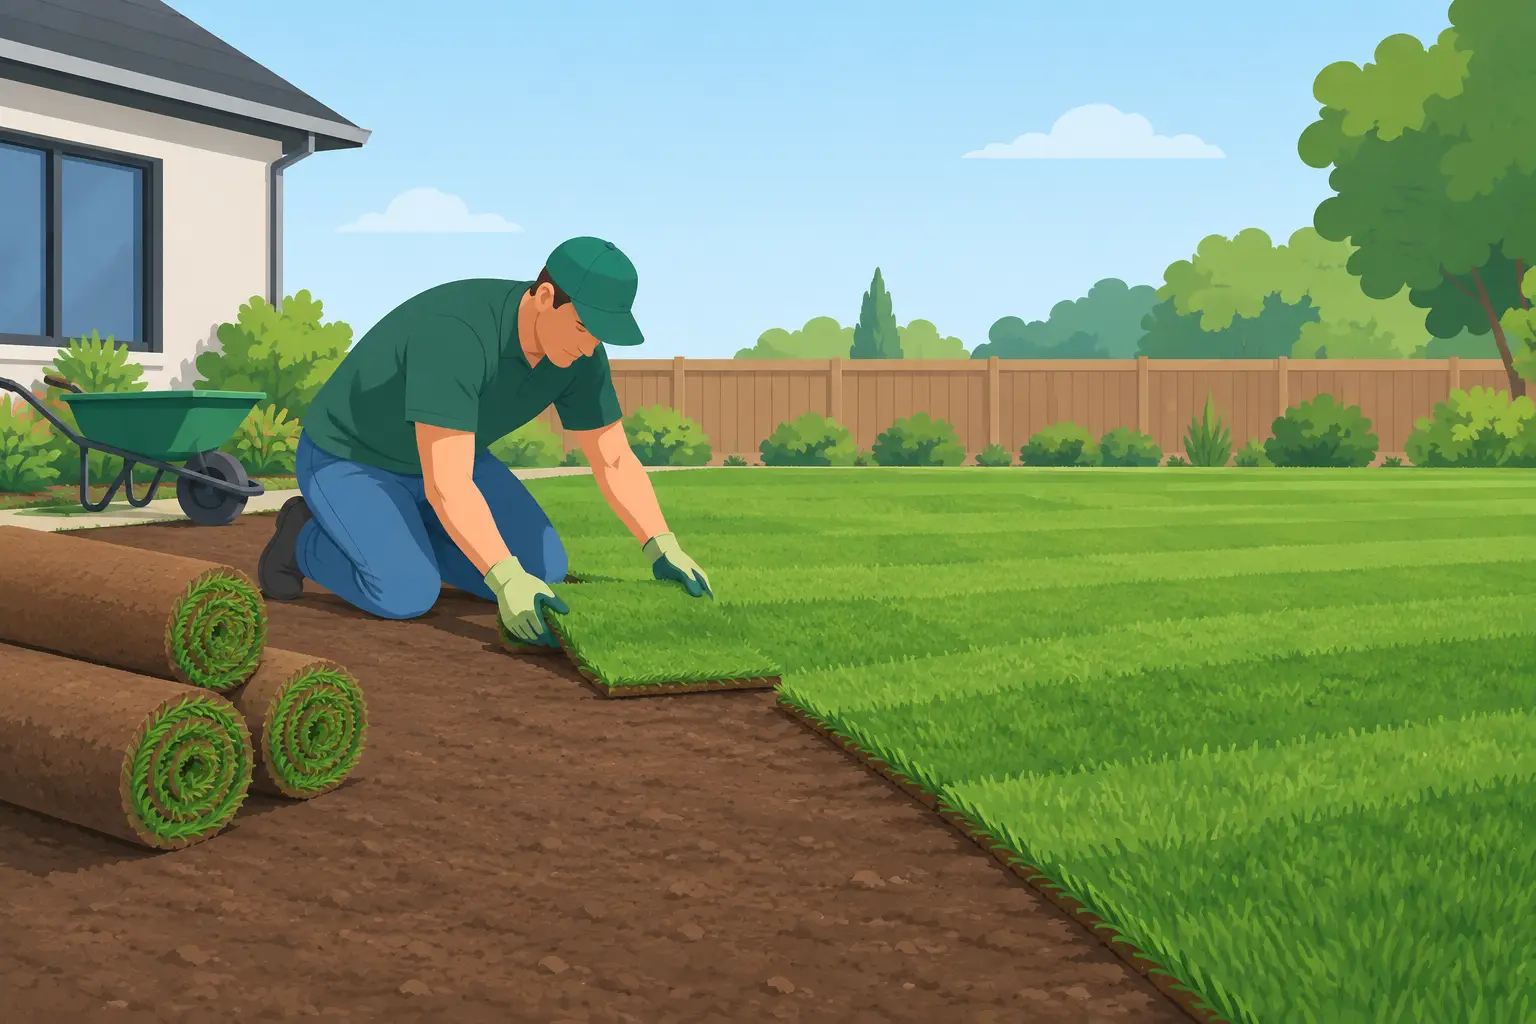
Putting turf is cut to the custom shape of the green, then positioned so grain direction and seams are handled correctly. Seams need to be tight, clean, and nearly invisible. A poor seam can affect ball roll and stand out visually every time you look at the yard.
Many homeowners choose a contrasting fringe turf around the putting surface. The fringe creates a finished appearance, softens the transition into the landscape, and gives players a place to chip from. It can also help define the green near pavers, mulch beds, or natural sod.
The turf is secured around the perimeter, and the edges are finished so they remain clean over time. Edge restraint is particularly important around curves and high-use areas. Loose or weak edges invite shifting, separation, and debris buildup.
Add Cups, Infill, and Final Grooming
Cup locations should be installed at the planned positions and set flush with the putting surface. The cups must drain properly and stay secure. A green can have multiple holes, but spacing matters. Keep enough room around each cup so a player can approach it from different angles.
The right infill helps control speed, supports turf fibers, and improves the natural feel of the surface. Too little can leave the turf unstable. Too much can slow the green down or make it feel overly firm. The correct amount depends on the turf product, desired speed, and whether the green includes a chipping area.
Once infill is applied, the turf is brushed and groomed so fibers stand correctly and the surface is consistent. The final check should include walking the green, rolling several putts from different directions, checking seams, and confirming that water will drain as intended.
Common Mistakes That Affect Ball Roll
The most common mistake is treating a putting green like standard artificial grass. Landscape turf can look great in a yard, but putting turf is designed for a different purpose. Its fiber structure, density, backing, and infill requirements are selected to provide predictable ball speed and a cleaner roll.
Another problem is inadequate compaction. If the base is installed too quickly or compacted inconsistently, the green may settle in spots. Even a small depression can collect water and pull putts off line. Weak drainage creates similar issues, particularly after a North Texas downpour.
Overbuilding the contours is also a mistake. Homeowners may ask for dramatic breaks to make the green more exciting, but excessive slope limits where you can place the ball and can make practice less useful. Controlled, subtle movement usually delivers a better experience.
Finally, do not overlook the surrounding landscape. A green looks better when it is tied into the yard with clean edging, stone, mulch, plant beds, a patio, or a walkway. It should feel like a permanent outdoor feature, not turf dropped into an empty corner.
Decide When Professional Installation Makes Sense
A small, flat practice area can be a reasonable DIY project for an experienced homeowner with the right equipment and time. But excavation, hauling material, compacting a base, handling drainage, and creating reliable contours require more than a weekend of work. Mistakes below the turf are difficult to correct once the project is finished.
Professional installation is especially worthwhile when the yard has a slope, clay soil, drainage concerns, pool decking, existing hardscape, or a larger custom design. A trained crew can manage the full scope, from removal and base work to turf installation and cleanup. Sod Green helps Dallas-Fort Worth homeowners build backyard putting greens that look polished, drain correctly, and hold up to regular use.
A well-built putting green gives you more than a place to practice your short game. It gives the backyard a purpose. When the base is prepared correctly and the details are finished with care, you get a clean, durable feature that is ready whenever you are.



Leave A Comment