 Skip to content
 A backyard putting green can look simple when it’s finished. The hard part is getting the plan right before any turf, base material, or cups go in the ground. If you’re figuring out how to plan putting green space for your home, the smartest move is to treat it like both a practice area and a permanent landscape feature. It needs to putt true, fit your yard, drain well, and still look clean with the rest of your outdoor space.
That matters even more in North Texas, where heat, hard rain, and shifting soil can punish a bad install fast. A good putting green is not just a patch of synthetic turf with a hole in it. It’s a shaped surface built on the right base, in the right location, with a layout that matches how you actually want to use it.
Start with the purpose of the green
Before you think about size or shape, decide what the green is supposed to do. Some homeowners want a short practice green to work on five- to ten-foot putts. Others want a backyard feature that feels more like a mini course, with multiple cups, fringe, and a few chip shots from the side. Those are very different projects.
If your main goal is repetition and practice, a simpler layout usually works better. You want clean lines, enough distance to vary putts, and a surface that rolls consistently. If you want more entertainment value for family and guests, it makes sense to add contours, more than one cup, and surrounding turf that gives the area a finished look.
This is where many people overbuild. More breaks and more slopes do not always mean more fun. If the green is too tricky, it stops being useful for real practice. A better plan balances challenge with playability.
How to plan putting green size and shape
The size of your putting green should match both your yard and your expectations. A small green can still perform well, but it needs enough room to create meaningful putts. In most residential backyards, the sweet spot is a design that allows several putting lines without swallowing the whole outdoor area.
Shape matters too. Clean, natural curves tend to look better in a residential setting than awkward corners forced into leftover space. At the same time, the shape has to work with drainage, nearby patios, pools, fences, and walkways. The best designs look intentional, not squeezed in.
A common mistake is planning only for the green itself and ignoring the space around it. You need room to stand, putt, retrieve balls, and possibly chip from the fringe. If the green is tight against a fence, pool deck, or retaining wall, it may fit on paper but feel cramped in real life.
If your yard has an odd layout, that does not mean a putting green is off the table. It just means the design should be custom to the space instead of trying to copy a golf course shape that does not belong there.
Pick the right location in the yard
Location can make or break the project. The best spot is usually a part of the yard that is visible, easy to access, and not already fighting major drainage problems. Homeowners often want the green close to a patio, outdoor kitchen, or pool area so it becomes part of the overall backyard experience.
That said, convenience should not override site conditions. Low spots that collect water, areas with heavy runoff, or places where drainage already struggles will need more site work. Sometimes that is still worth doing, but it changes the budget and the scope.
Sun and shade are less of a concern with synthetic turf than with natural grass, but surrounding trees still matter. Leaves, seed pods, and roots can create cleanup issues and complicate the base prep. If you can place the green where it stays cleaner and more open, maintenance stays easier.
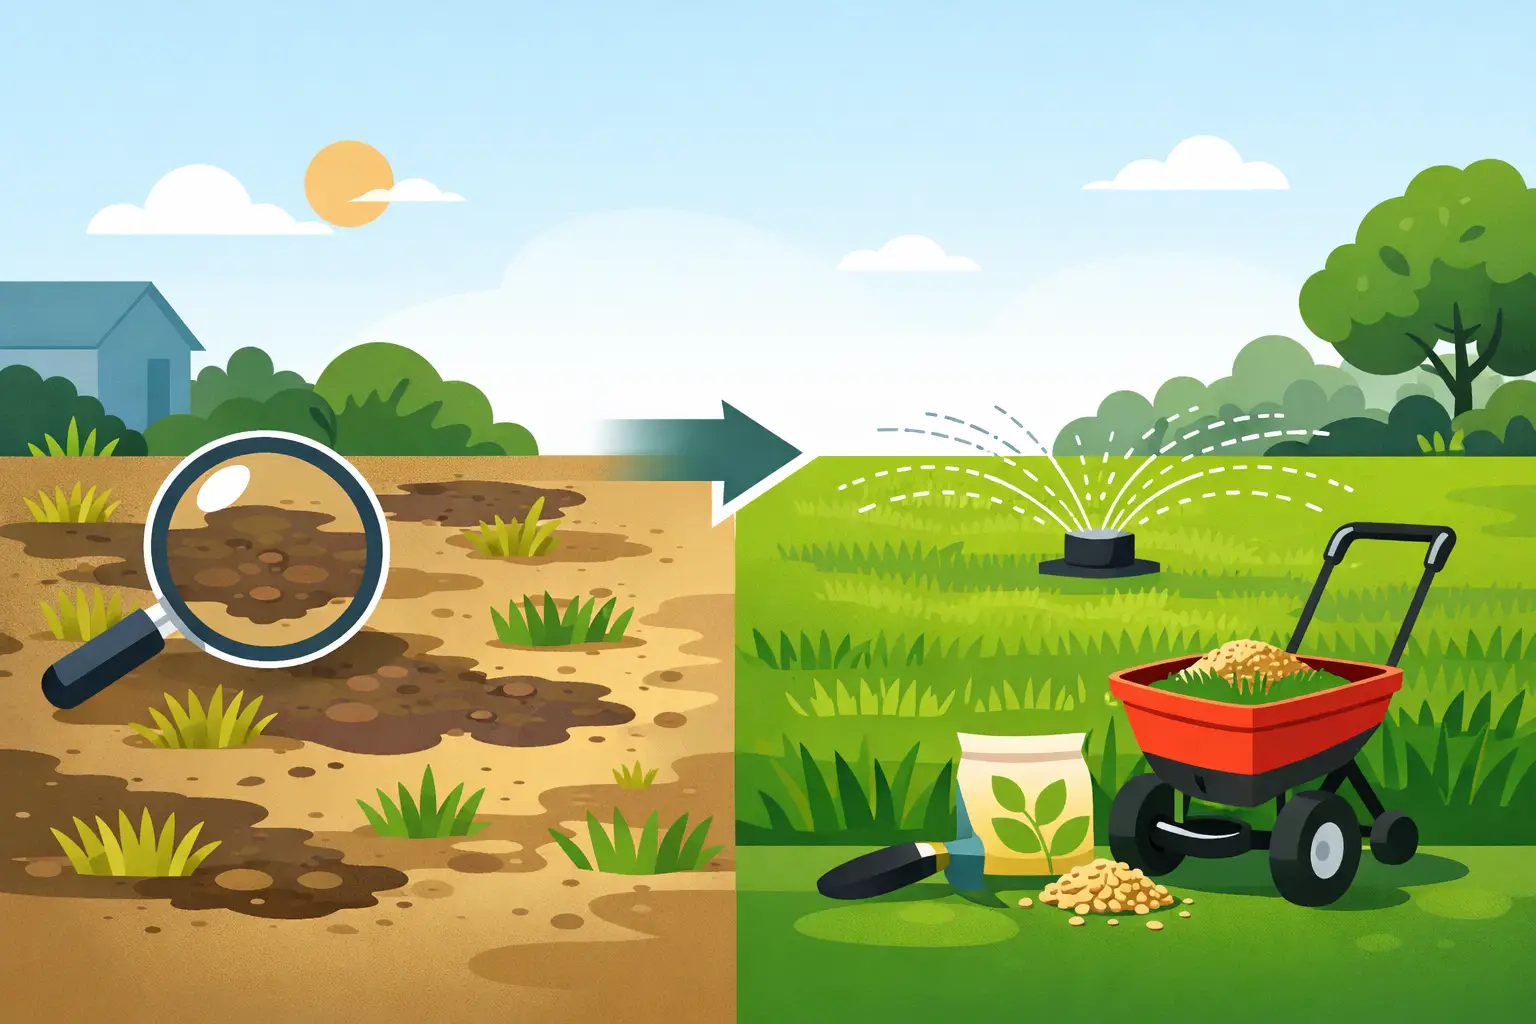
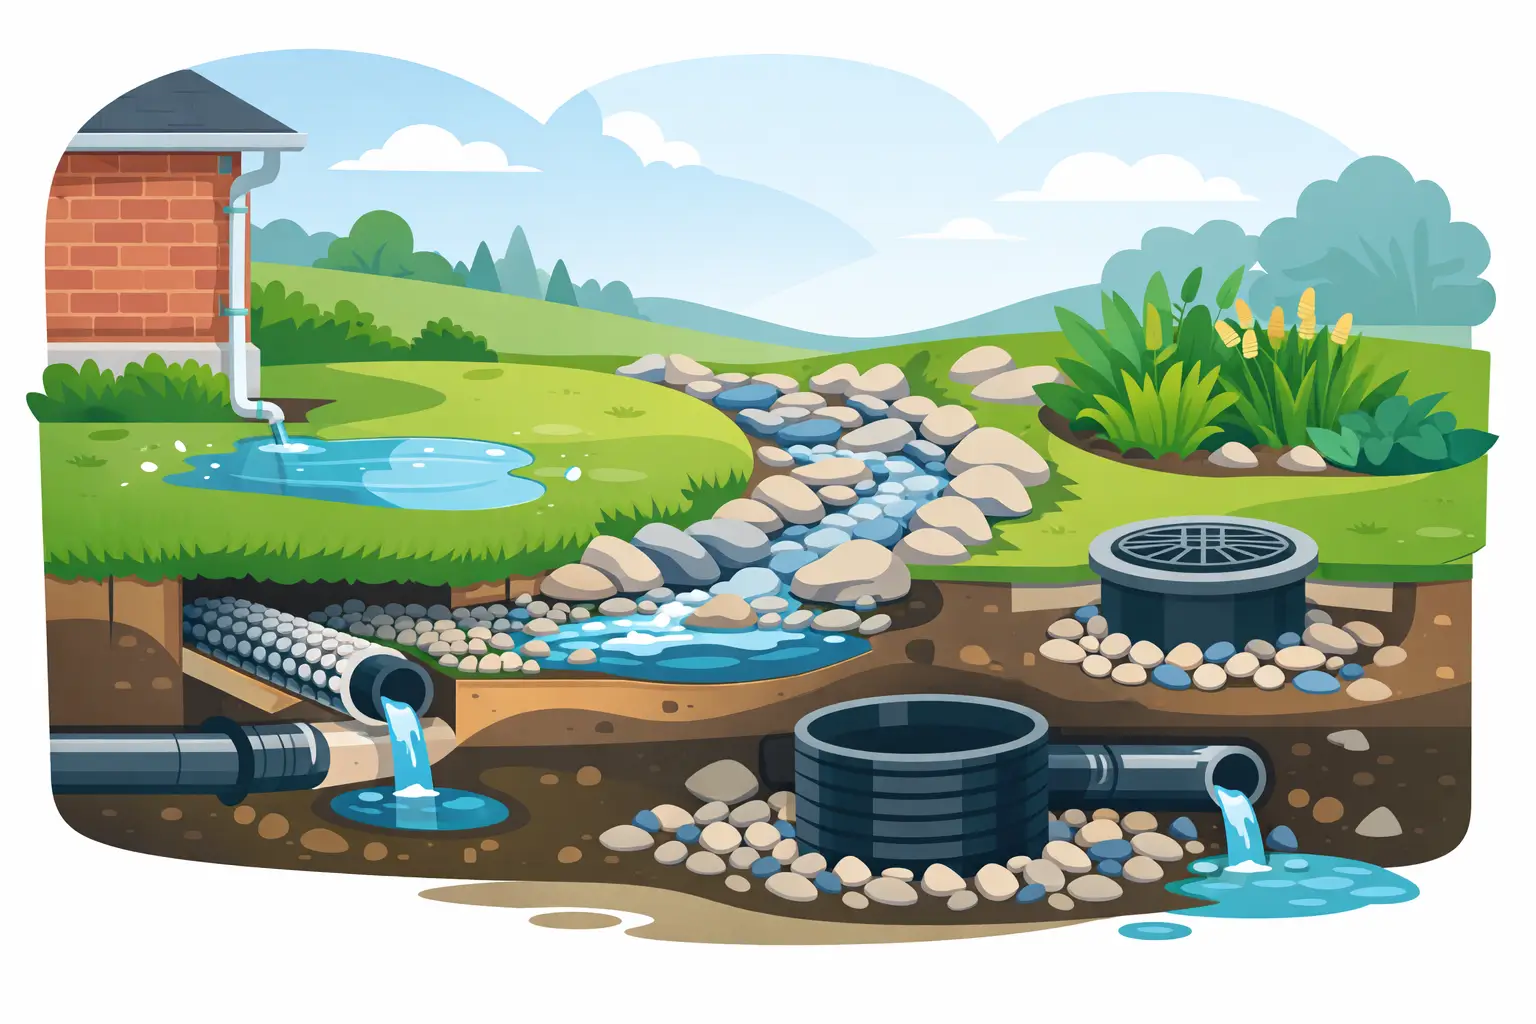
Drainage comes before playability
Most people think first about cup placement and ball roll. Installers think first about drainage, because without it, everything else suffers. If water sits under the surface, the base can shift, low spots can develop, and the green will not stay true over time.
That is why base preparation matters so much. A quality putting green needs excavation, grading, compacted base material, and a surface plan that moves water where it should go. In some yards, that also means tying into existing drainage solutions or adjusting nearby landscaping so runoff does not dump onto the green.
This is one of those areas where shortcuts show up later. A green may look fine right after install, but if the groundwork is weak, you will start to notice performance problems after storms and seasonal changes. A smooth roll starts under the turf, not on top of it.
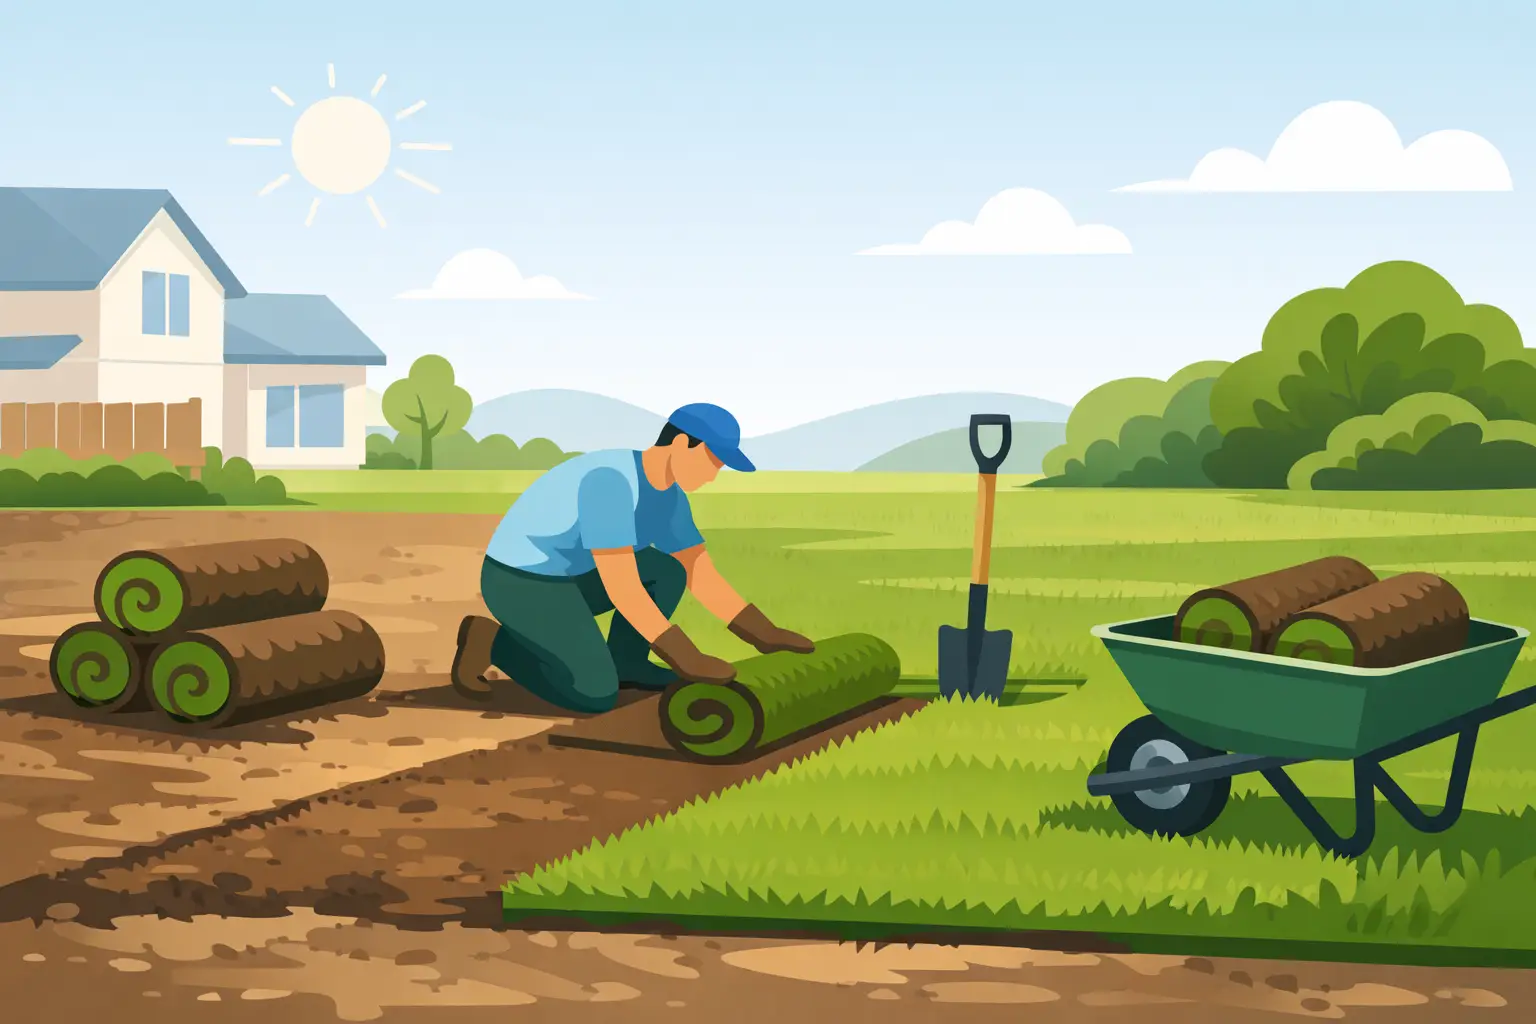
Choose turf and base materials for real performance
Not all artificial grass is built for putting greens. The turf needs to support a clean roll, hold up to foot traffic, and make sense for the way the green will be used. Some systems are designed mainly for looks. Others are built to perform more like a practice surface.
The same goes for the fringe. In many backyards, the fringe and surrounding turf help the green feel complete and polished. They also affect how chip shots react and how the feature blends into the landscape.
Speed is another decision point. Faster is not always better. A very fast green can be fun for experienced golfers, but it may frustrate casual users and family members. Slower greens can be more forgiving, though they may not match the feel serious golfers want. This is where an experienced installer helps guide the choice based on your goals, not just product specs.
Plan the breaks, slopes, and cups carefully
This is the part everyone gets excited about, and it should be handled with some discipline. The contour of the green determines whether it plays naturally or feels gimmicky. Subtle slopes usually age better than dramatic ones.
If you want to practice reading putts, a few well-placed breaks can do the job. You do not need a roller-coaster surface. In fact, exaggerated contours often create putts that are less realistic and more annoying than useful.
Cup placement should also be spread out enough to create variety. Multiple cups can give you more practice options and help different parts of the green stay in use. But cup locations should make sense with the slopes. A hole cut in the wrong area can turn a good design into a frustrating one.
A strong plan usually includes a mix of straight putts, slight left-to-right or right-to-left breaks, and at least one longer line that makes the green feel more versatile.
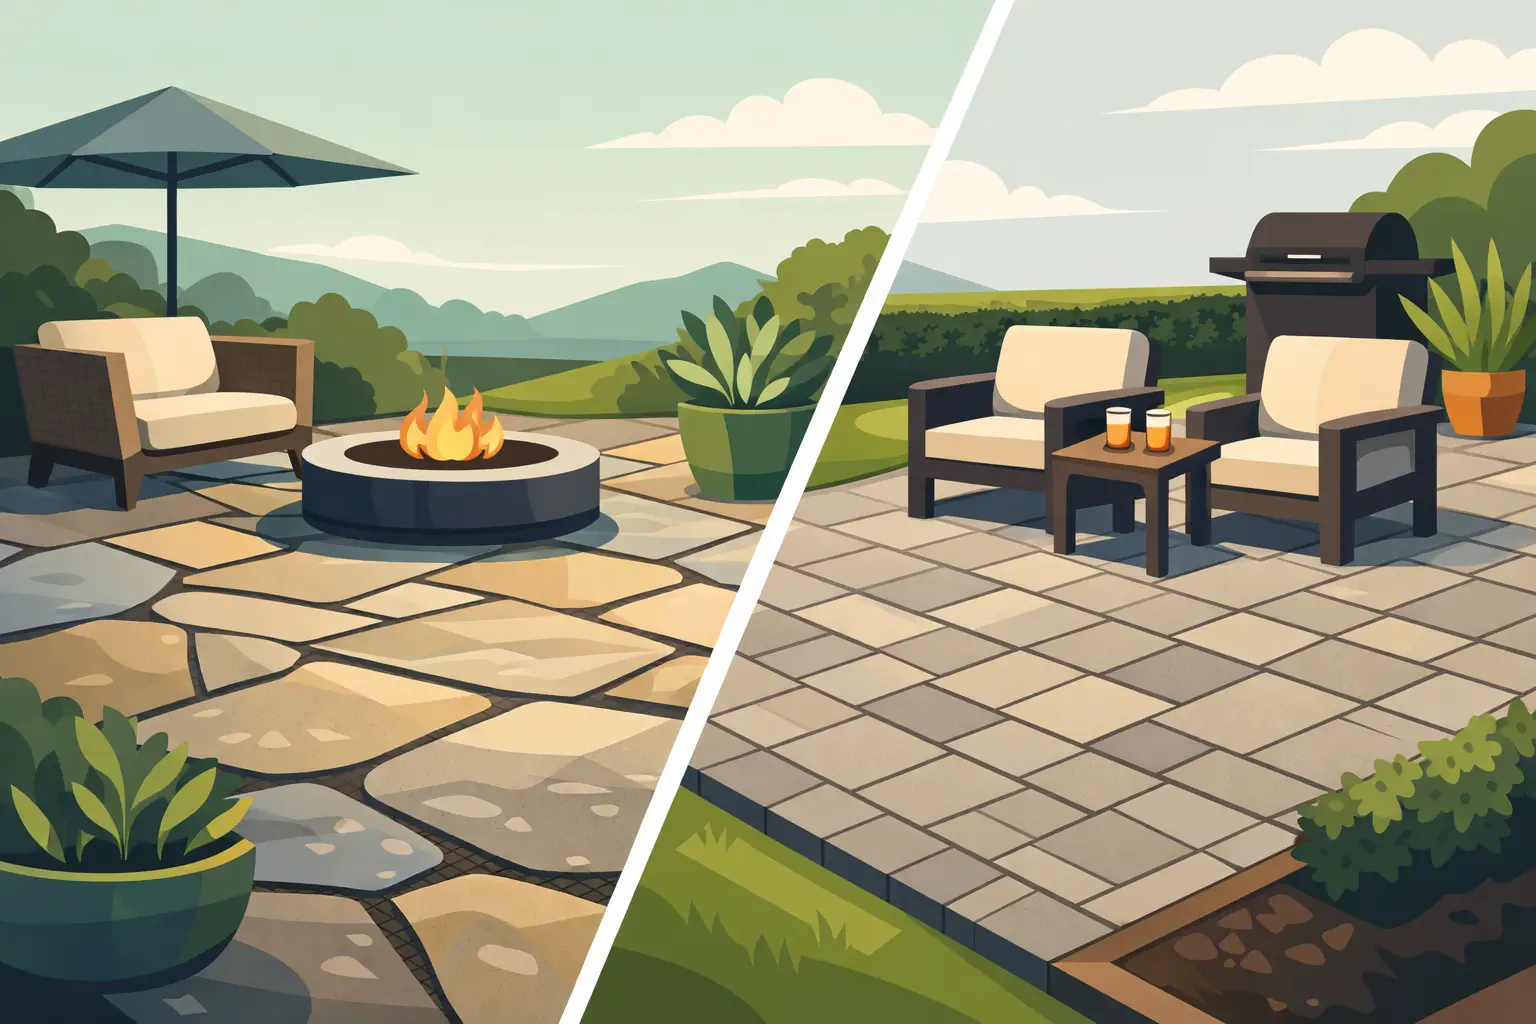
Think about the full backyard, not just the green
A putting green should improve the whole yard, not sit in it like an afterthought. That means looking at the surrounding materials and features from the beginning. Edging, stonework, walkways, patios, and planting beds all affect the final look.
For many homeowners, the best result comes from integrating the green into a larger backyard upgrade. Maybe the green sits next to a paver patio. Maybe there’s a clean turf border that ties into the lawn. Maybe drainage improvements, fresh sod, or hardscape work solve other problems at the same time.
That full-picture approach usually delivers a better return than treating the putting green as a standalone patch. It looks more finished, functions better, and adds more visual value to the property.
Budget with the right expectations
When homeowners search how to plan putting green projects, they often focus on the visible finish and underestimate the labor under it. The real cost is driven by site prep, grading, drainage needs, base construction, turf selection, and custom shaping.
A flat, simple green in an easy-access yard costs less than a custom design with elevation changes, fringe, hardscape integration, and drainage correction. Neither is wrong. It depends on the space and what you want from it.
The key is to budget for quality where it counts. A cheaper install that cuts corners on excavation and base prep can cost more later if the surface settles or drains poorly. If you are investing in a permanent backyard feature, it pays to build it right the first time.
Work with an installer who understands both golf and landscaping
Putting greens are specialized. They are not the same as standard artificial turf projects, and they are definitely not just decorative lawn installs. The contractor needs to understand grading, drainage, materials, and playability together.
That combination matters because a putting green has to perform and look like it belongs in the yard. A crew that knows landscape construction but not golf surfaces can miss the details that affect ball roll. A crew focused only on the green itself may miss how it connects to the rest of the property.
For homeowners in Dallas-Fort Worth, that local experience matters too. Soil conditions, drainage patterns, and weather all shape how a green should be built in this region. A company like Sod Green that handles turf, drainage, and full outdoor transformations can usually spot issues early and build a cleaner finished product.
The best backyard putting greens start with a clear plan, not a rushed install. If you take the time to think through purpose, location, drainage, playability, and the way the green fits your whole yard, you end up with something that gets used often and still looks sharp years later. That’s the kind of project worth doing.

Leave A Comment