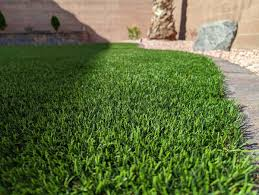
How to Install Synthetic Turf Grass: Complete Step-by-Step Guide
Tired of moving every weekend? Watching your lawn turn brown in summer heat? Wasting money on water that barely keeps natural grass alive? You are not alone. Thousands of homeowners across Texas and the U.S. are switching to synthetic turf for good reason. This guide shows you exactly how to install synthetic turf grass from start to finish.
By the end, you will know how to do a complete synthetic grass installation like a pro. Whether you are a first-timer or a serious DIY fan. Average install time for 500 sq ft is 8 to 12 hours over one weekend.
Quick Benefits at a Glance:
- Saves up to 70% on water bills
- Lasts 15 to 20 years with proper care
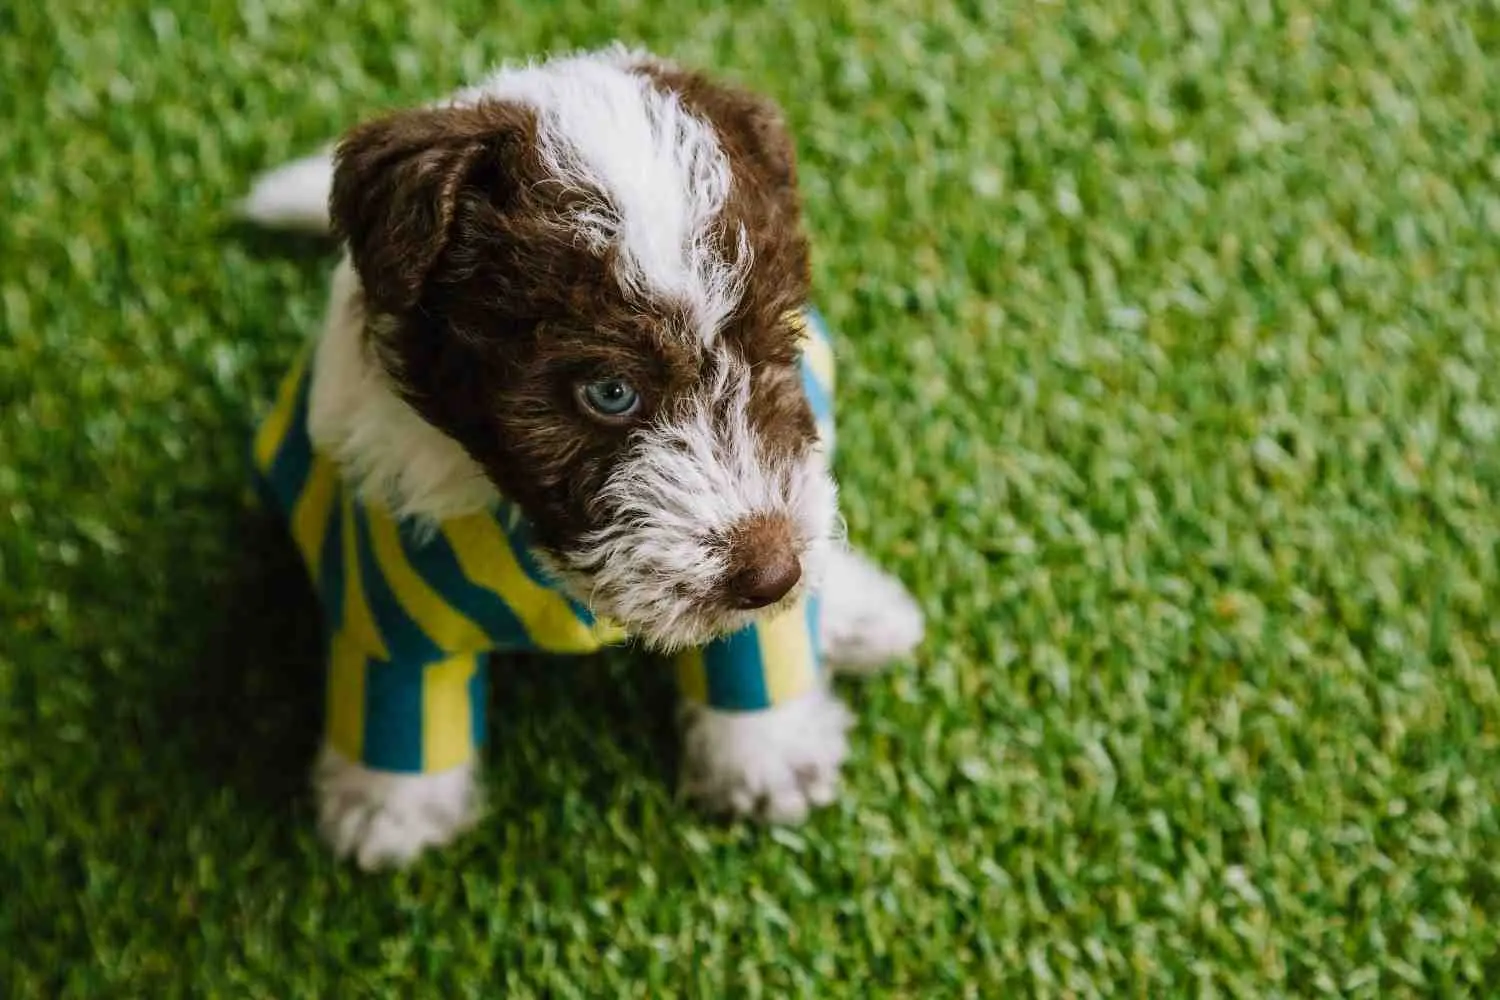
- Safe for kids, pets, and high-traffic areas
- Zero mowing, fertilizing, or reseeding
- Works on dirt, concrete, and pavers
Tools and Materials Checklist for Synthetic Turf Installation
If your also thinking about How to Install Synthetic Turf Grass? then you have to arrange these tools and materials.
Tools You Will Need:
- Utility knife: for precise turf cuts
- Plate compactor: for base compaction
- Power broom: to spread infill evenly
- Tape measure, hammer, landscape rake
- Drop spreader, carpet kicker, screed board
Materials You Will Need:
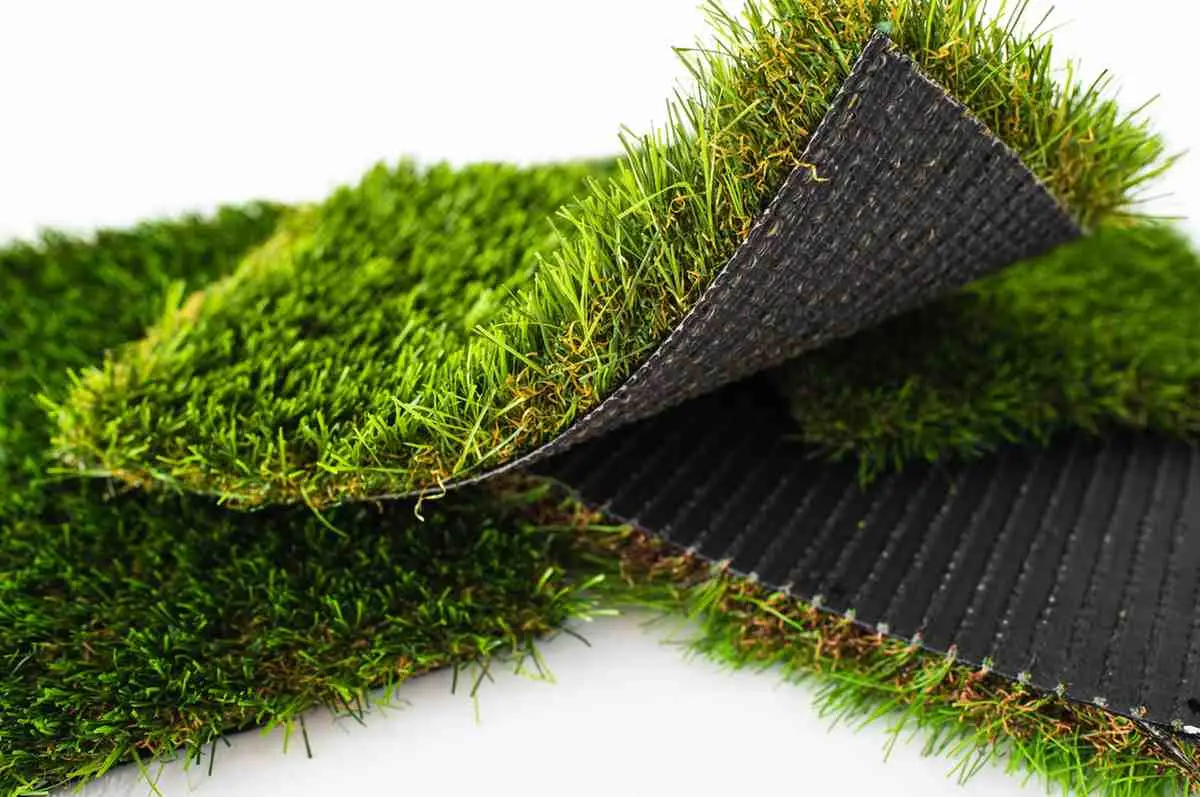
- Synthetic turf rolls (measure your area + 10% extra)
- Crushed rock or decomposed granite (sub-base)
- Weed barrier fabric
- Artificial turf seam tape and outdoor adhesive
- 6-inch galvanized landscape nails
- Artificial turf infill sand (silica or Envirofill)
- Bender board for clean border edges
Cost Breakdown Table (DIY 500 sq ft):
| Item | Avg. Cost |
| Synthetic Turf (per sq ft) | $2 to $8 |
| Base Material (per sq ft) | $0.50 to $1.50 |
| Infill (per sq ft) | $0.25 to $1.00 |
| Tools (rental per day) | $100 to $200 |
| Total DIY (500 sq ft) | $1,500 to $5,000 |
Pro Note: Professional installation of the same area costs $3,500 to $8,000. DIY saves you 40 to 60%.
Step 1: Prepare the Area (Excavation and Grading)
Good artificial grass base preparation is the most important part. A poor base causes wrinkles, pooling water, and early turf failure.
- Call 811 first. Mark underground utilities at least 3 days before digging. This is required by law in the U.S.
- Remove existing grass, sod, roots, and rocks completely. Never lay fake grass over living turf.
- Dig 3 to 4 inches deep across the entire area.
- Grade the surface at a 1 to 2% slope, directing water away from your home or structures.
- Cap or remove old irrigation sprinkler heads.
- Install bender board around the perimeter for clean, stable edges.
Pro Tip: Always over-excavate by 1 inch. It is much easier to add base material than to remove it after compaction.
Step 2: Install the Sub-Base for Proper Drainage
The sub-base is what keeps your fake grass carpet flat, stable, and long-lasting. Skipping this step leads to soft spots, bumps, and bad drainage.
Sub-Base Material Comparison:
| Base Material | Drainage | Cost | Best For |
| Class II Road Base | Excellent | $$ | Most lawns and yards |
| Decomposed Granite | Good | $$$ | Premium or decorative areas |
| Crushed Stone / Pea Gravel | Excellent | $$ | Pet areas and high drainage zones |
- Spread 3 to 4 inches of your chosen base material evenly.
- Lightly wet the surface with a hose before compacting.
- Run a plate compactor over the base 2 to 3 times, reaching 90 to 95% compaction.
- Check for low spots or ridges with a long board. Fix before moving forward.
Pet Tip: Add a 0.5 lb per sq ft layer of Zeolite before compacting. It controls urine odors naturally and lasts for years.
Step 3: Lay the Weed Barrier
A quality weed barrier stops weed growth without blocking drainage. This is a step most DIYers undervalue.
- Roll out the fabric across the entire base area.
- Overlap seams by 6 to 12 inches to close any gaps.
- Secure with landscape staples every 18 inches along the edges and seams.
Pet Owner Warning: Skip the weed barrier in dog areas. The fabric traps urine and creates permanent odor over time. Use Zeolite infill in those zones instead.
Step 4: Unroll and Position Your Synthetic Turf
This step is where installing artificial grass starts to look real. Take your time here. Rushing leads to wrinkles that are hard to fix later.
- Let the turf sit in direct sun for 1 to 2 hours before cutting. Heat relaxes the fibers and removes factory creases.
- Roll all pieces in the same direction. The grain of all turf sections must face the same way.
- Front yard grain should face the street. Backyard grain should face your home.
- Extend turf 1 to 2 inches past your border edges for final trimming.
- Never drag the turf across your compacted base. This disrupts the surface you worked hard to level.
Step 5: Cut the Turf and Create Invisible Seams
Proper cutting is what separates a DIY artificial turf installation that looks professional from one that looks patchy. Always cut from the back side of the turf.
- Use a carpet cutter or sharp utility knife. Change blades often.
- Cut on the back side, running the blade between the turf rows.
- Leave a 1/8 inch gap between seam edges. This prevents bunching when the turf expands in heat.
Seaming Method Options:
| Method | Cost | Strength | Best For |
| Nail + Tape | $ | Medium | Budget DIY projects |
| Tape + Adhesive | $$ | High | Most residential installs |
| Glue-Only | $$$ | Very High | Professional finish |
Common Mistake: Never overlap seam edges. Even a tiny overlap creates a visible ridge that never flattens out.
Step 6: Nail Down and Secure the Perimeter
Securing the edges is what keeps your synthetic turf installation guide looking sharp for years. Loose edges lift, curl, and become a tripping hazard.
- Drive 6-inch galvanized nails every 3 to 4 inches along all perimeter edges.
- For large installs, add interior nails every 12 to 24 inches for added stability.
- Drive nails flush with the backing. Never countersink them this creates permanent dimples.
- Use your fingers to separate grass blades around each nail before driving it in.
- Use a carpet kicker to stretch the turf and remove any remaining wrinkles before final nailing.
Step 7: Apply Infill for a Natural Look and Feel
Infill is what makes synthetic grass stand upright, feel soft underfoot, and drain properly. Do not skip this step. Without infill, blades flatten and the surface feels hard.
Infill Comparison Table:
| Infill Type | Best For | Cost | Notes |
| Silica Sand | General residential use | $ | Standard, widely available |
| Crumb Rubber | Sports and play areas | $$ | Retains heat in summer |
| Envirofill | Pets and kids | $$$ | Anti-bacterial coating |
| Zeolite | Pet odor control | $$ | Layer under Envirofill |
| Cork | Eco-friendly yards | $$$ | Cooling, sustainable |
- Apply 1.5 to 2 lbs of infill per square foot.
- Use a drop spreader for even distribution.
- Broom the infill against the grain to push it deep into the fibers.
- Use a power broom to lift blades and spread evenly.
- Water the surface lightly to help infill settle.
- Never apply artificial turf infill sand when the turf is wet.
How to Install Synthetic Turf on Different Surfaces
On Dirt or Soil
Follow Steps 1 through 7 above. This is the standard method for most residential lawns.
On Concrete
No excavation needed. But you will need a drainage pad so the fake grass has somewhere for water to go.
- Sweep and wash the concrete. Let it dry completely.
- Install a 3mm shock-absorbing drainage pad using outdoor adhesive.
- Roll out and glue the turf to the pad. No nails on concrete.
- Allow 24 to 48 hours cure time before heavy foot traffic.
- No weed barrier needed on solid concrete.
On Pavers or Decking
- Check that pavers are stable, level, and free of debris.
- Lay a non-woven geotextile fabric as a separator layer.
- Use the adhesive method. Nails can damage or shift pavers.
- Use extra infill 2 to 2.5 lbs per sq ft for added stability.
8 Most Common Synthetic Turf Installation Mistakes
These are the errors that separate a failed install from a flawless one.
| Mistake | Problem | Fix |
| Skipping base compaction | Soft, uneven surface | Run plate compactor 2 to 3 passes |
| Using play sand as infill | Clumps and poor drainage | Use silica sand or Envirofill only |
| Nailing too deep | Permanent dimples | Drive nails flush, never below surface |
| Wrong grain direction | Patchy, unnatural look | Mark all rolls before unrolling |
| No acclimation time | Wrinkles and creases | Let turf warm in sun 1 to 2 hours |
| Poor drainage slope | Water pooling and odors | Grade at 1 to 2% slope before base |
| Weed barrier in pet zones | Permanent urine smell | Use Zeolite infill instead |
| Cutting from the top | Damaged grass fibers | Always cut from the back side |
How to Maintain Your Synthetic Turf After Installation
Good maintenance extends lifespan and keeps your lawn looking fresh for 15 to 20 years.
- Weekly: Rinse with a garden hose. Use a leaf blower to remove debris.
- Monthly: Power brush against the grain to lift fibers back up.
- Seasonally: Check perimeter nails, add infill if needed, inspect for loose seams.
- Pet areas: Rinse weekly and use an enzyme cleaner to eliminate bacteria and odor.
Avoid these at all times:
- Sharp metal rakes (scratch backing)
- Open flames or hot coals near turf
- Harsh bleach or chemical cleaners
- Parking vehicles on the turf surface
Should You DIY or Hire a Professional?
Both options are valid. It depends on your yard size, shape, and your comfort level with laying synthetic lawn work.
| Factor | DIY | Professional |
| Cost (500 sq ft) | $1,500 to $3,000 | $3,500 to $7,000 |
| Time | 1 to 2 weekends | 1 to 2 days |
| Quality | Good with proper prep | Excellent |
| Warranty | None | Often 5 to 10 years |
| Best For | Simple, flat areas | Complex shapes or slopes |
If you are in the Dallas area and want professional results without the weekend work, SodGreen offers expert Artificial Turf Installation Dallas services. From site prep to final brushing, the team handles every step. Request a free quote and get your lawn transformed in days.
Conclusion
Now you know how to install synthetic turf grass the right way. Start with solid excavation and grading. Build a compacted base. Lay your weed barrier correctly. Roll, cut, seam, nail, and infill with care. Follow these seven steps and your lawn will look great for 15 to 20 years with very little effort.
If you want a professional finish without the weekend grind, SodGreen is your trusted partner for Artificial Turf Installation Dallas and surrounding areas. Contact us today for a free estimate and take the first step toward a green, maintenance-free lawn.
Want to go further? Read our guides on the best synthetic turf brands and a full synthetic turf cost guide to plan your project budget.
Frequently Asked Questions
How long does it take to install synthetic turf grass?
For a 500 sq ft area, a DIY install typically takes 8 to 12 hours spread over one weekend. Larger or shaped areas take longer.
Can I install synthetic turf grass myself?
Yes. With the right tools and this guide, most homeowners can complete a DIY artificial turf installation successfully. Simple, flat areas are the easiest to start with.
How deep should I dig for artificial grass?
Dig 3 to 4 inches deep to prepare ground for artificial turf. This gives room for a 3-inch compacted base plus the turf itself.
Do I need infill for synthetic turf?
Yes. Infill keeps blades upright, adds cushioning, helps drainage, and gives the surface a natural feel. Artificial turf infill sand is the standard choice for most yards.
Can synthetic turf be installed over concrete?
Yes. Clean the concrete first, then install a drainage pad, and glue the turf down. No nails needed on hard surfaces.
How long does synthetic turf last?
Well-maintained synthetic turf typically lasts 15 to 20 years. Pet areas with regular cleaning can reach the upper end of that range.
Is synthetic turf safe for kids and pets?
Yes. Quality turf with non-toxic infill is safe for both. Choose anti-bacterial options like Envirofill for households with dogs or young children.
What is the best base material for artificial grass?
Class II road base offers the best drainage and compaction for most installs. For pet areas, crushed stone with a Zeolite layer is the top choice.

Leave A Comment